Repairing a loose vacuum tube grid cap
Repairing a loose grid cap takes a bit of time and patience, along with a soldering iron and wick or a solder sucker to remove the old solder. If you're doing this for the first time it might be wise to practice on a dud tube.
|
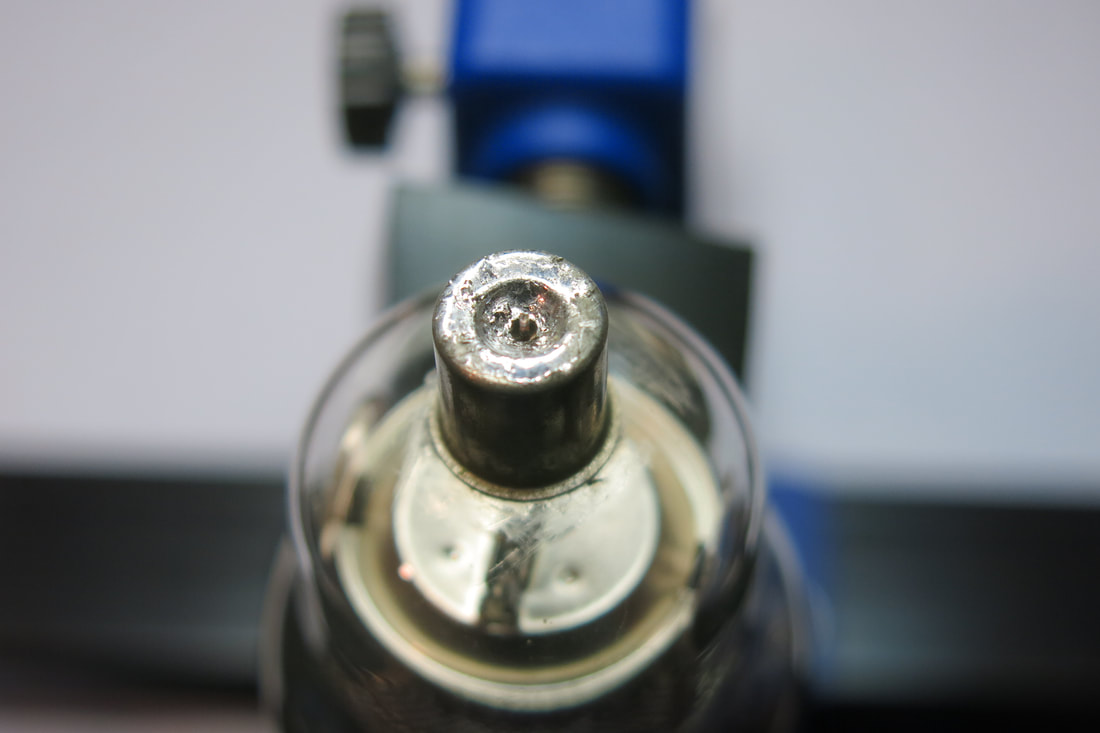
The hardest part of this job is setting up the tube so it won't move while you work on it. I use a circuit board holder like a vise to hold my tube upright.
|
|
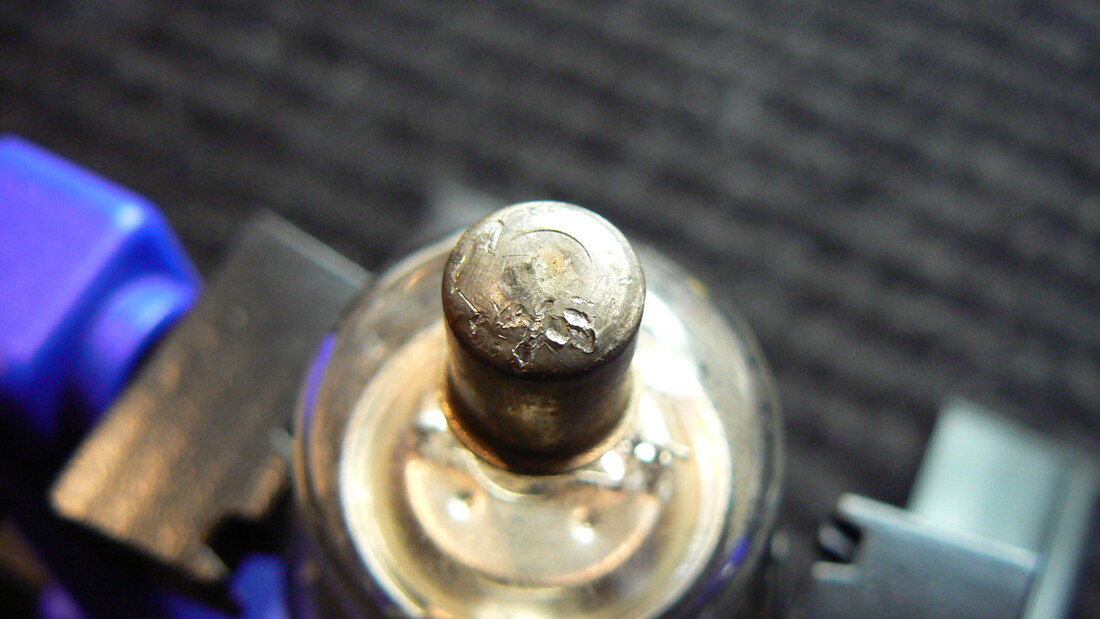
The top of the grid cap has a small cavity that holds the solder while assuring contact with the wire coming out of the top of the tube. Use your soldering iron to melt the solder and remove the solder with wick or a solder sucker.
|

|
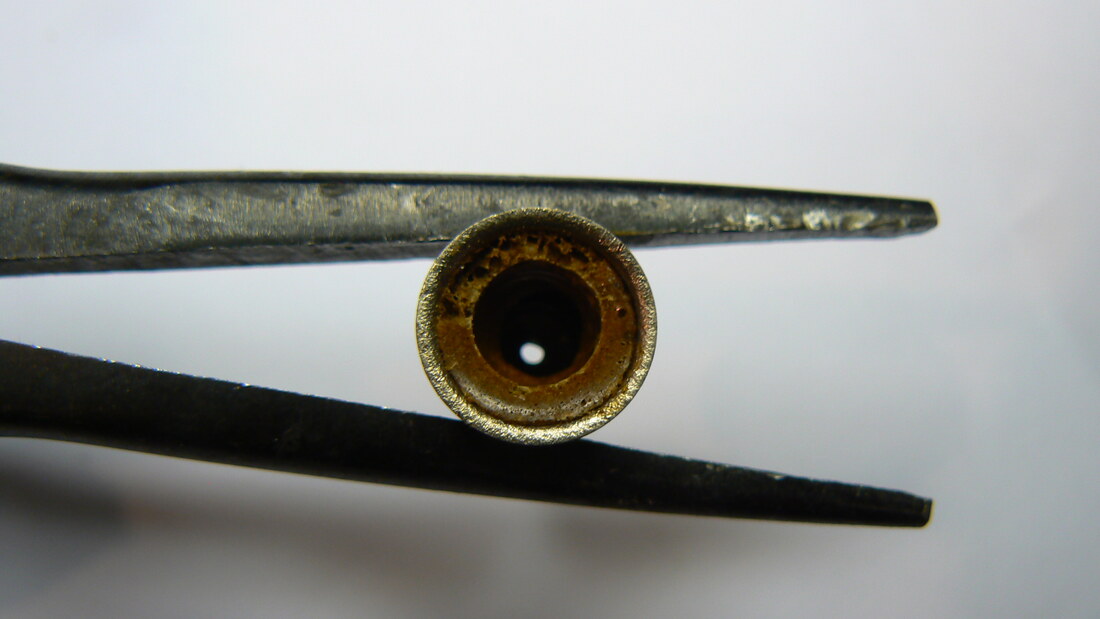
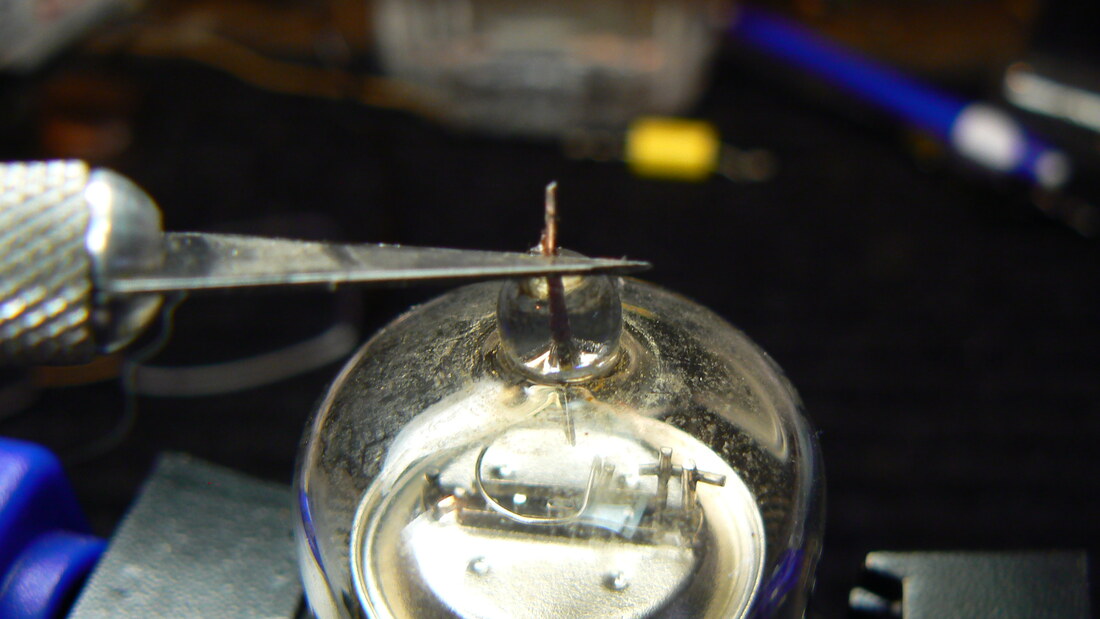
Allow a few minutes for the metal cap to cool off, then GENTLY lift it off the tube. Depending on how loose the grid cap is, you might need to rock it back and forth or rotate it slightly. Before moving the metal cap, be sure that the now-exposed wire is free of the cap. You don’t want to break that wire!
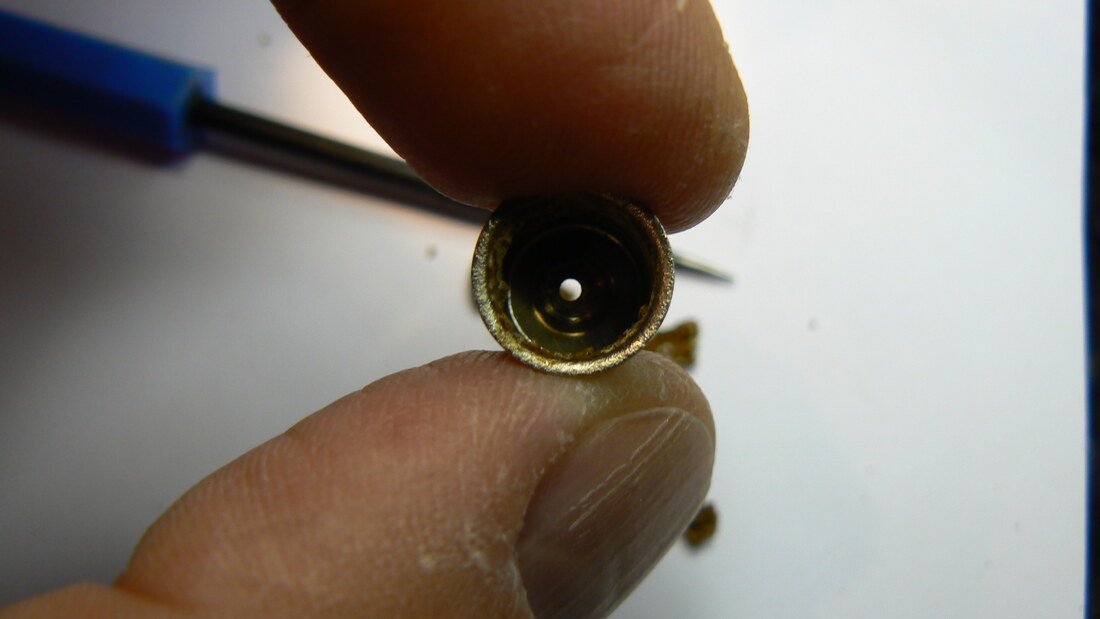
Make sure the grid cap has a clear path for the wire when you reinstall the cap. The old glue looks like peanut brittle, a fitting comparison because it IS brittle. I usually remove some or all of it with a sharp, pointed tool, taking care to avoid puncturing my fingers.
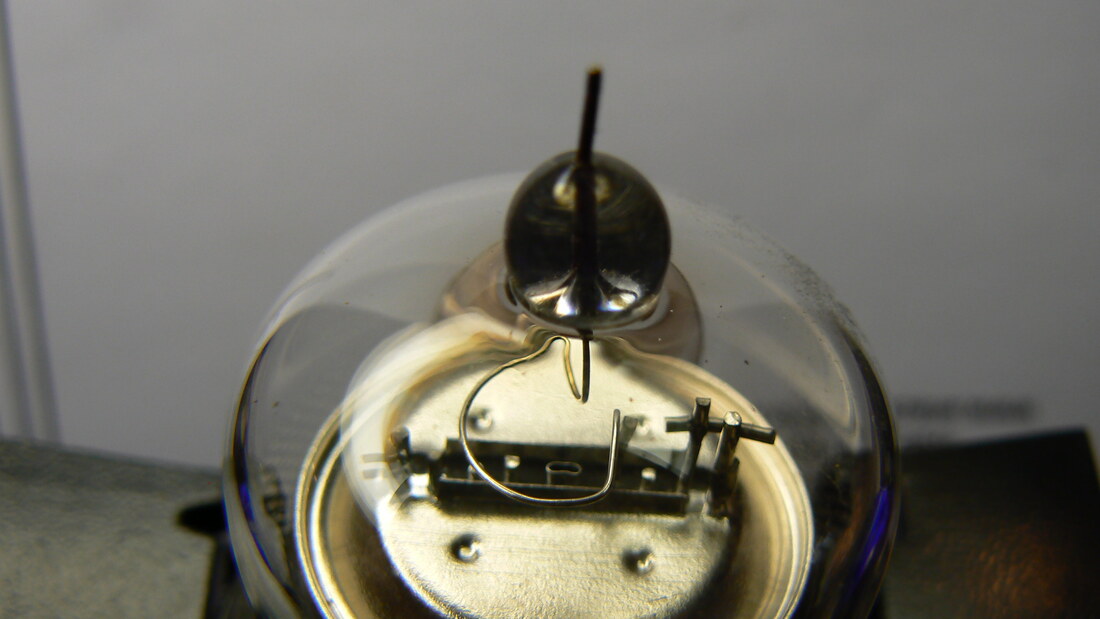
Remove any oxidation and other crud from the top wire, taking care to avoid breaking it. You want some shine on that wire to improve the bond with the new solder.
|
|
Clean the glass that surrounds the top wire.
Place a few drops of Super Glue on the glass and carefully return the grid cap to the top of the tube. You might wish to wear disposable gloves for this procedure to avoid skin contact with the glue. Once you position the cap to fit over the top wire, apply pressure to the cap for ~15 seconds to secure it to the glass.
|

Additional considerations:
|
Fill the grid cap’s solder cup with solder.
|
