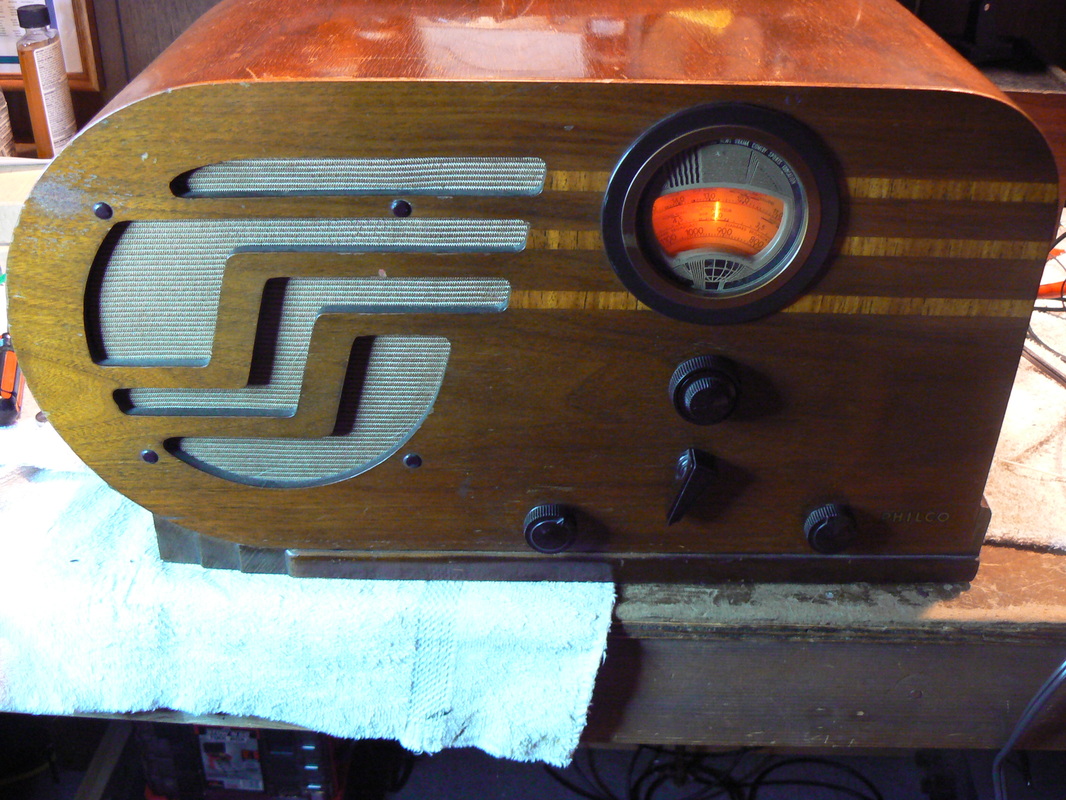
This Philco 38-610 followed me home a couple of months ago. The chassis presented a challenge owing to paper caps being tucked into inaccessible areas. The solution was found at a web site that revealed the secret of accessing Philco chassis with multiple sections. After replacing the electrolytic and paper caps, she came back to life. After rebuilding the dial light socket, an alignment produced a strong performing radio that sounds great. I continue to be delighted by the pleasure that comes from repairing/restoring an old radio.
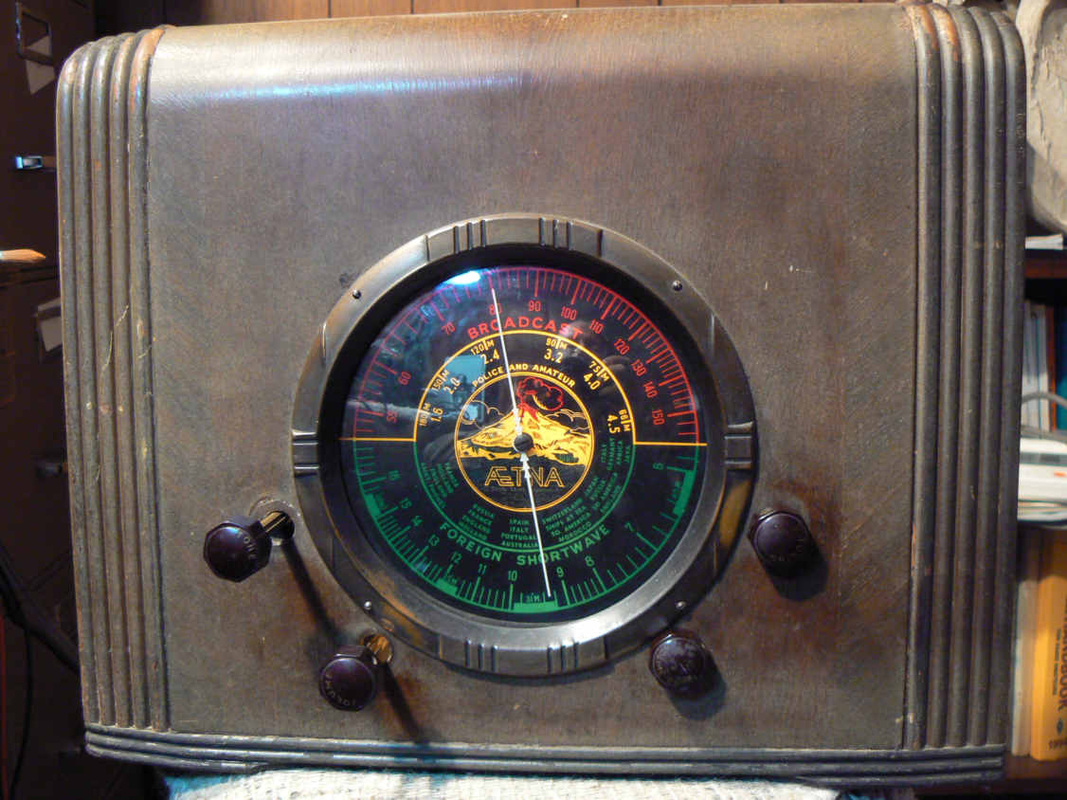
Aetna radios were built to be sold, at a low price point, by Walgreens. This Model 653 was not working when it arrived but a simple recap had it receiving signals and an alignment resulted in a hot little receiver. A previous owner, for reasons unknown, had cut the control shafts so short that the knobs were scraping on the cabinet. The tone pot had to be replaced anyway so I ordered long shafts that can be cut to length. A previous owner (perhaps the same one who cut off the control shafts?) applied some sort of finish (varnish?) to the cabinet that turned a semi-opaque milky color and was badly crazed.
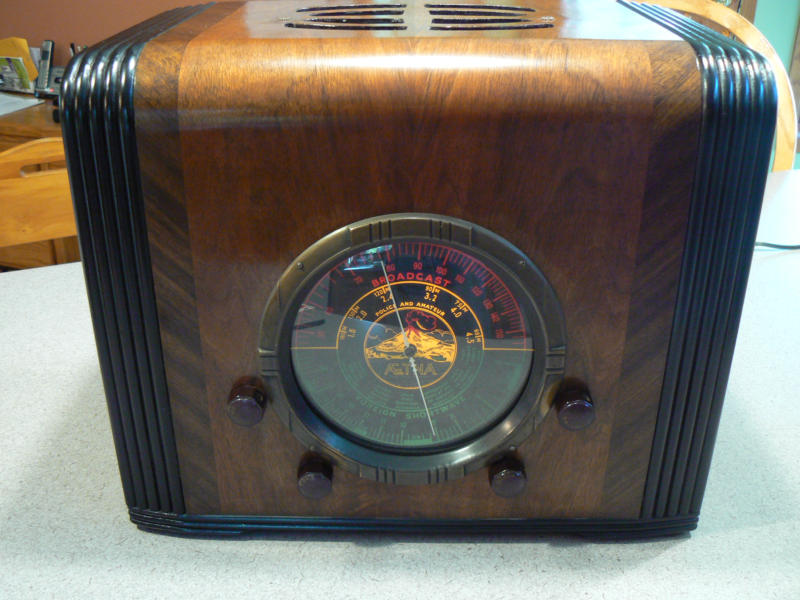
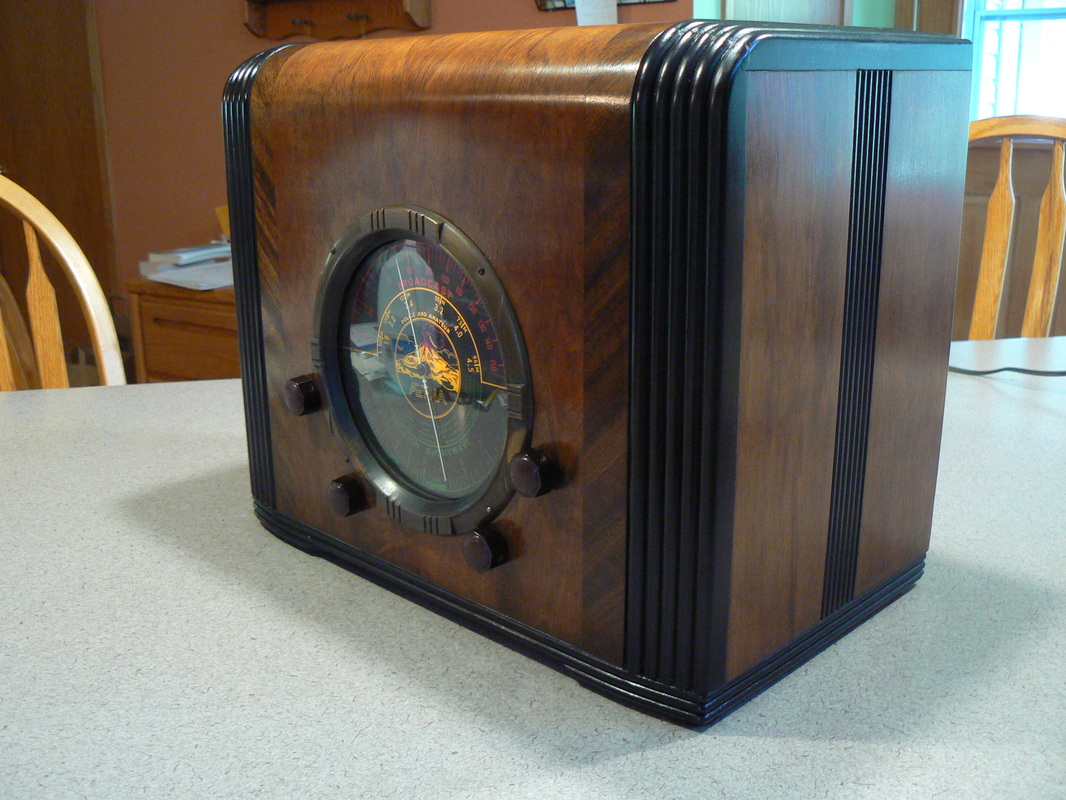
I refinished 3 radio cabinets in the yard and garage in September 2014. This Aetna's cabinet was joined by a Zenith 5S-228 and a Zenith 9S54 console. The Aetna's cabinet was the first to be reunited with its chassis. I'm new to this, but got lots of guidance by reading discussions on the Antique Radio Forum. Here is how it turned out:
I refinished 3 radio cabinets in the yard and garage in September 2014. This Aetna's cabinet was joined by a Zenith 5S-228 and a Zenith 9S54 console. The Aetna's cabinet was the first to be reunited with its chassis. I'm new to this, but got lots of guidance by reading discussions on the Antique Radio Forum. Here is how it turned out:
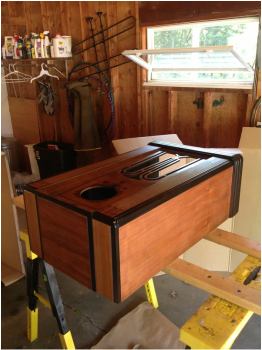
The Zenith 5S-228 cabinet came next.
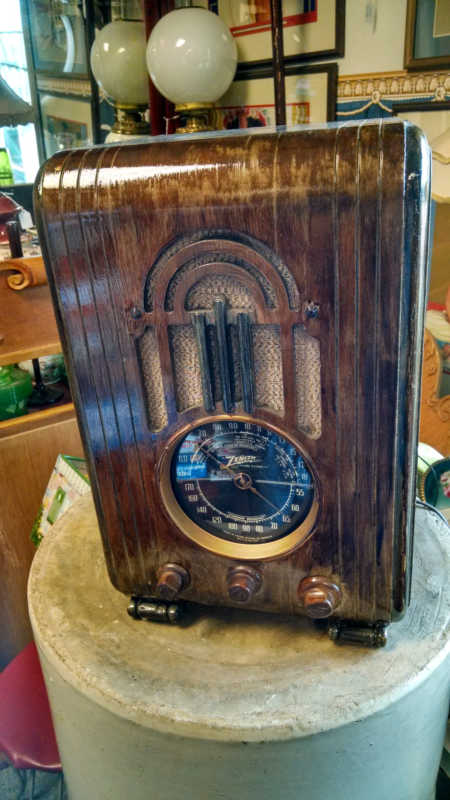
Here is the Zenith 5S-228 as found in a local antique shop
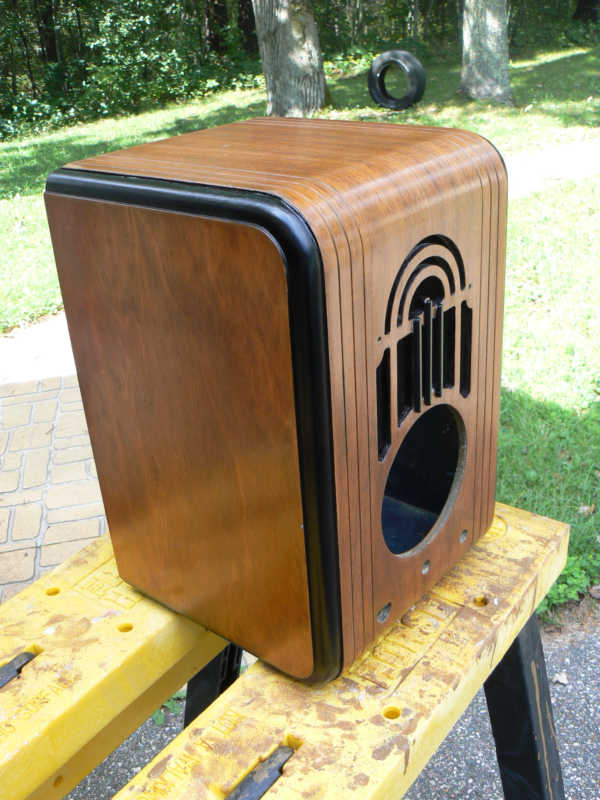
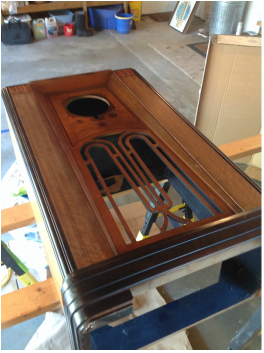
The Zenith 5S228 cabinet took a L-O-N-G time to get to this stage. The previous finish was stubborn and there were multiple repairs required, but the cabinet was finally ready for a reunion with the radio. It has been pointed out that the cabinet came out a bit "blonde" when compared to its original color, and that observation is probably right. Not surprising, really, as I tend to gravitate to "blonde".
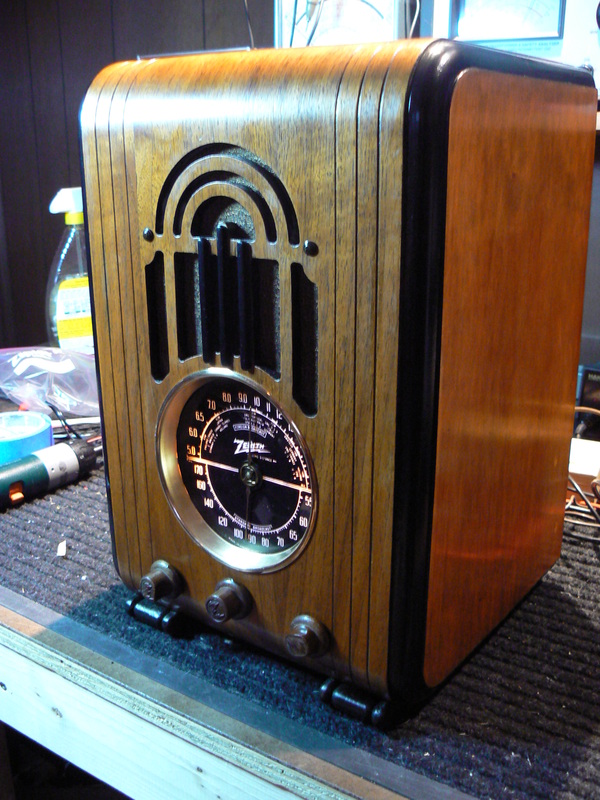
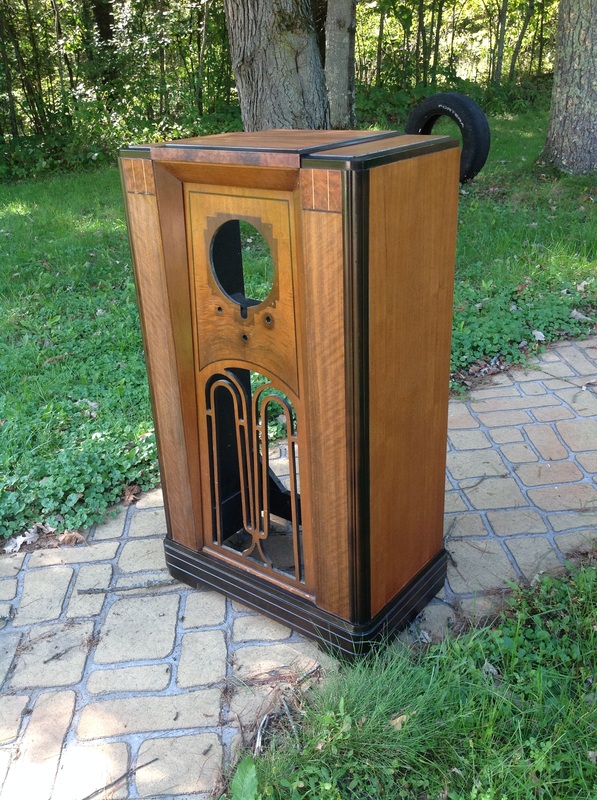
After some research, the speaker went off to be re-coned by Rich at Sound Remedy New Jersey (http://www.SoundRemedyNJ.com - they did a great job at a modest price - highly recommended!) and was installed when it returned. Chassis and cabinet are finally reunited in January 2015.
After some research, the speaker went off to be re-coned by Rich at Sound Remedy New Jersey (http://www.SoundRemedyNJ.com - they did a great job at a modest price - highly recommended!) and was installed when it returned. Chassis and cabinet are finally reunited in January 2015.
This Zenith 9S54 cabinet belongs to a good friend who asked me to refinish it, but he also asked that I leave the front panel untouched. It is genuinely scary to work on something this beautiful when it belongs to someone else and you're just learning how to do this sort of thing. My friend was pleased with the outcome, so I was relieved!

The cabinet top was a bit scuffed up but the wood in the center of the top was amazingly dense. The photos below show the result of the refinishing effort. Unfortunately, I have no suitable indoor facility for this sort of work, so the garage becomes the shop and progress is dependent on the weather.
|
|
Zenith 7S-633: The crazed dial paint is reportedly tied to its previous life in Florida, where temperature and humidity stressed the paint. My plan is to trace those crack lines with a black sharpie some cold, winter day when the radio room is the warmest place in the house.
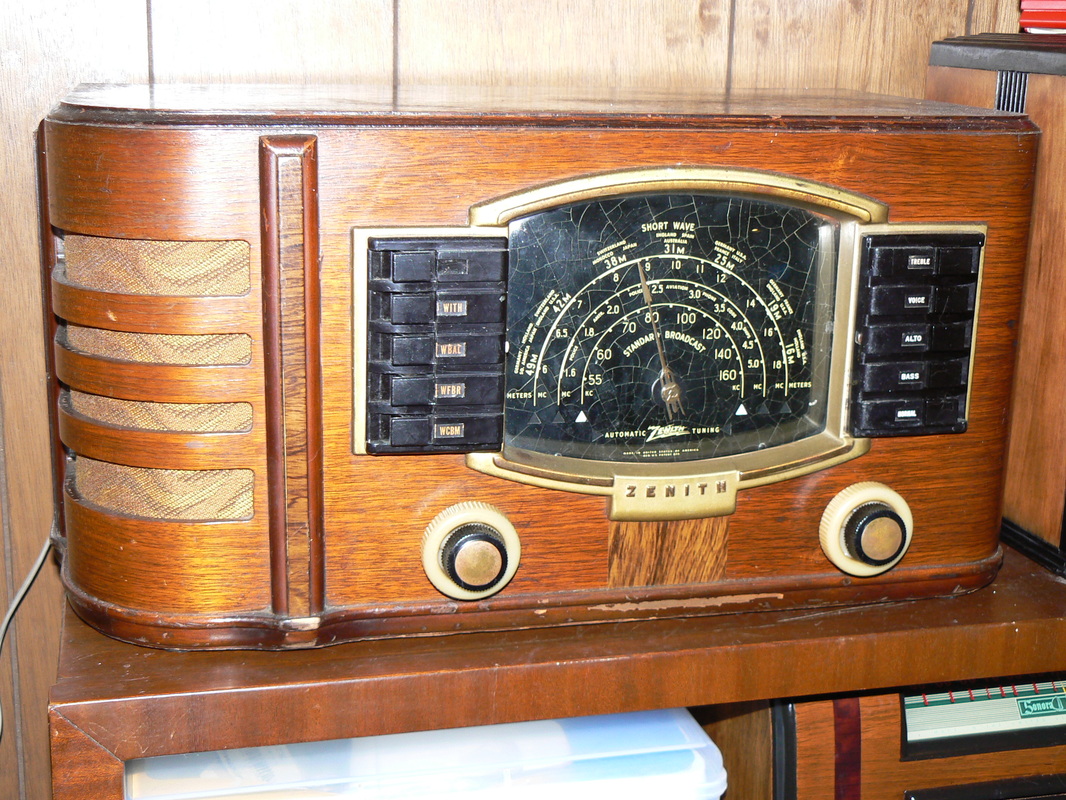
Zenith 7S-633
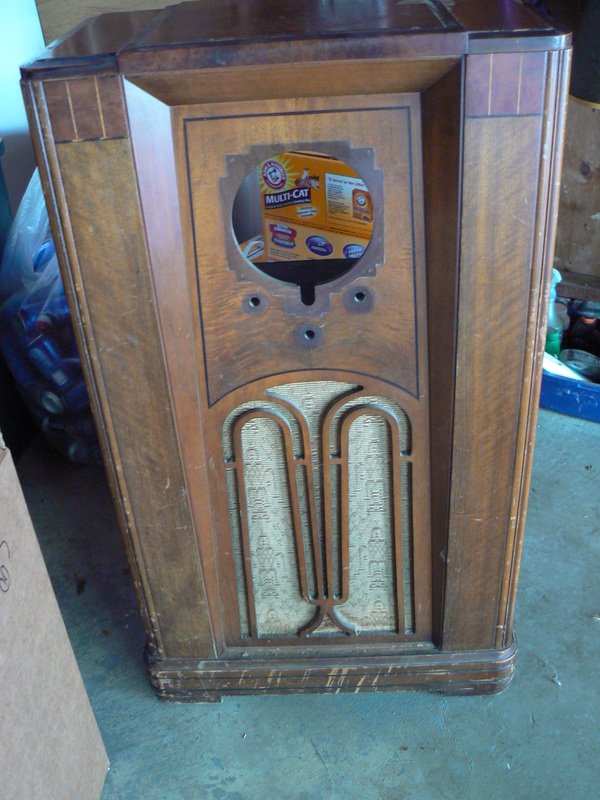
Philco 38-4: Like most consoles, it also served as a plant stand and the inevitable over-watering resulted in damage to the finish. While the cabinet is a candidate for refinishing as a result, the chassis was free of rust and corrosion.
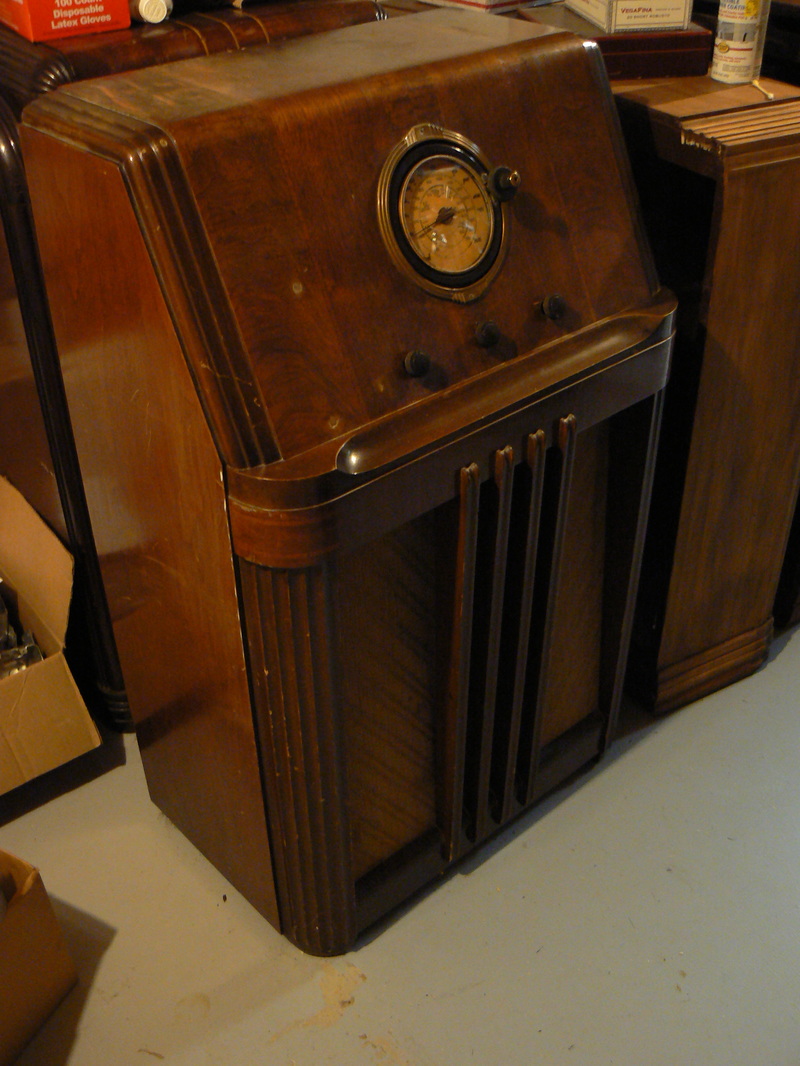
Philco 38-4
Philco 16X: This console's finish is an excellent condition despite a few nicks and gouges. Unfortunately, it came without a dial, tubes, knobs or dial mount mechanism. The resulting treasure hunt took 5 months, with the dial mount mechanism being the hardest part to find. The speaker has a small cone when compared to other consoles but the magnet is VERY heavy and the sound produced by this set is an attention-getter. Many hours went into the electrical restoration but the set's performance is a wonderful reward for the effort.
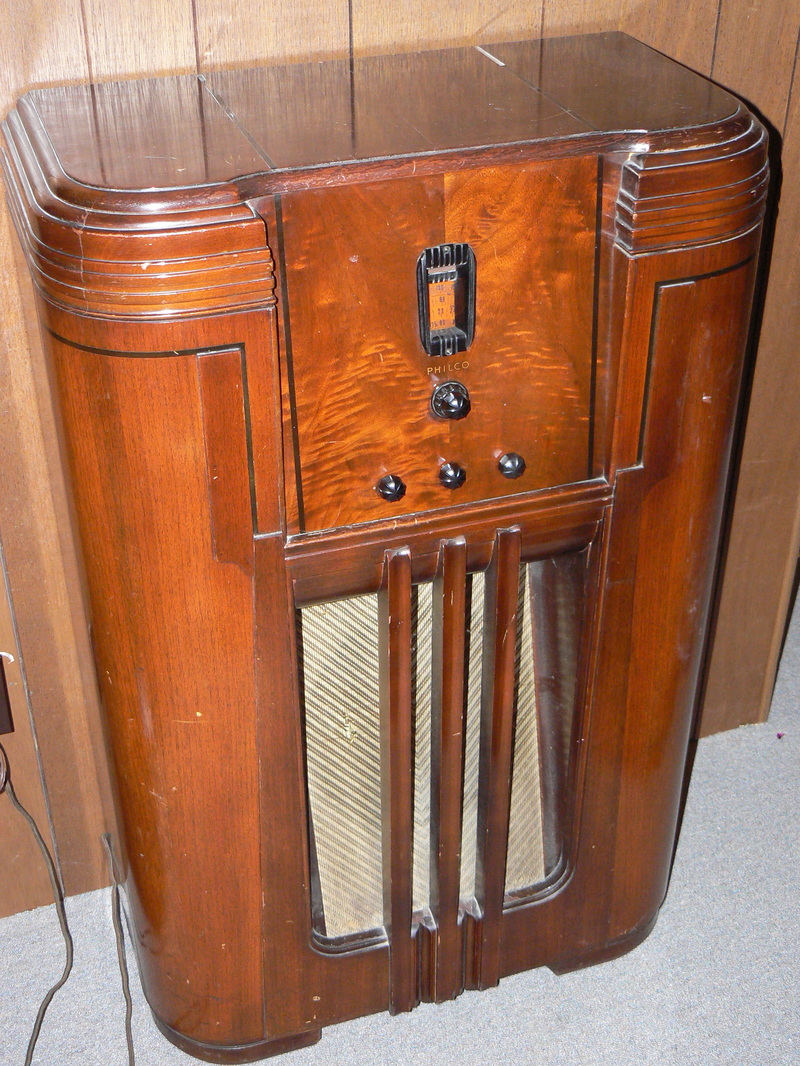
Philco 16X
Atwater Kent 976: Found in the front window of a local used book store, the grill cloth was shredded and the speaker cone was severely torn. The cone was repaired with liquid tape and strips for reinforcing material cut from dryer sheets. This was my first Atwater Kent set so there was much to learn - Mr. Kent had his own way of doing things. The set was repaired and plays well with the patched speaker. The cabinet had been painted with what appeared to be brown house paint so it was stripped and awaits refinishing in the summer of 2016.
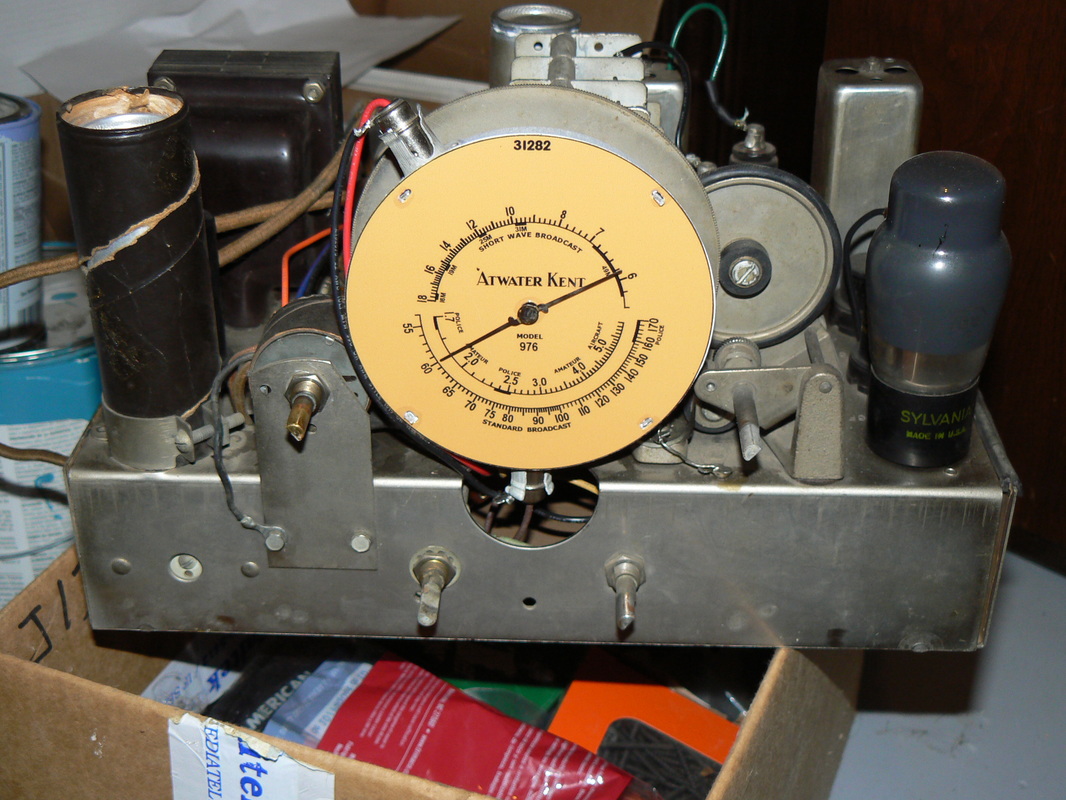
Atwater Kent 976
Sonora RDU 209/229: This set's cabinet was badly stained by an unknown dark material, and the faux finish was half gone when obtained from a local antique shop. Wood bleach removed the stain and Tony at Vintage Radio Labels provided me with new faux finish strips. This was my first experience with the Refaux Pro product and, with Tony's help, I'm happy with the outcome. This AA6 set also performed well after the usual replacement of capacitors, resistors and an alignment.
Sonora RDU 209/229
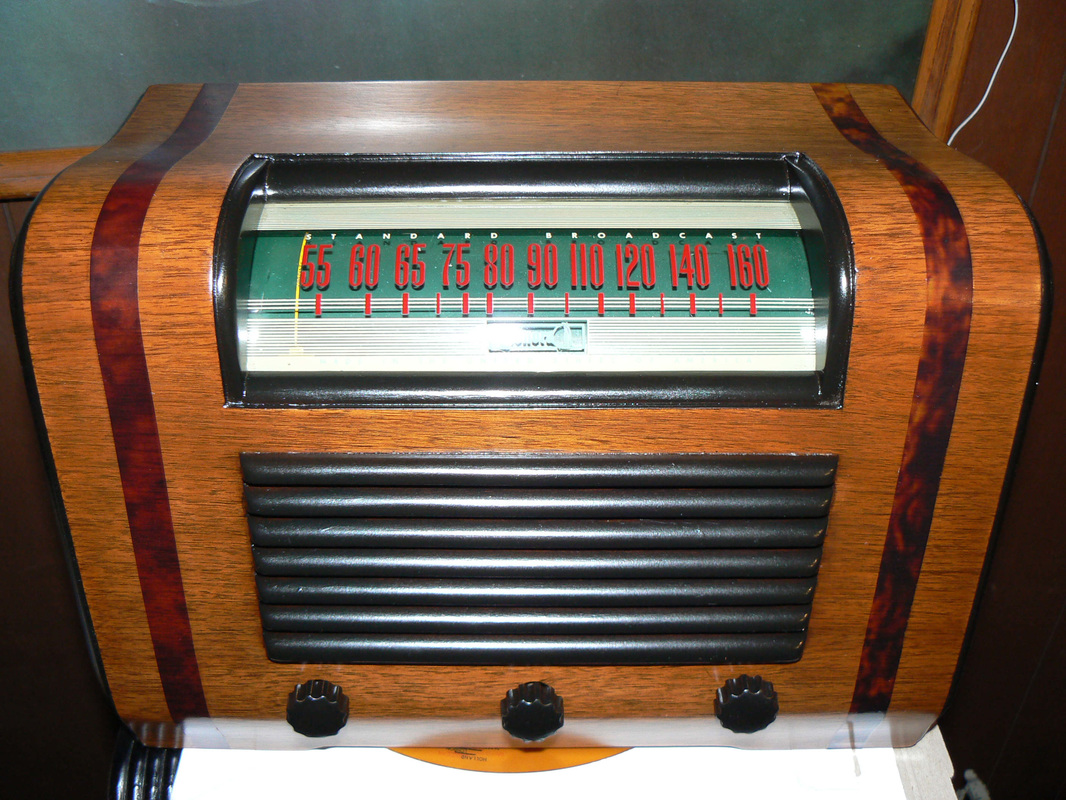
Stromberg-Carlson 130L: This set was a local Craigslist purchase. It worked, but barely, and an electronic restoration perked up performance considerably. The cabinet is small, as consoles go, and the finish is original. During the initial assessment, I was mystified by how far out of compliance the RF alignment was. Stations with known transmitting frequencies were being received at very different places on the dial. The mystery deepened when removing the chassis from the cabinet, as someone had placed a different dial under the chassis, a glass dial that had been shattered and taped together. When comparing the two dials, it quickly became evident that the dial being used on the set was the WRONG dial. Although the two dials looked the same to a casual observer, a closer examination revealed that they were mirror images of each other. One dial tuned from low frequencies to high frequencies on each band, while the other dial tuned from high to low. The folks at RadioDaze had the correct dial, which matched the shattered dial found under the chassis. Turns out that the RF alignment was fairly close.
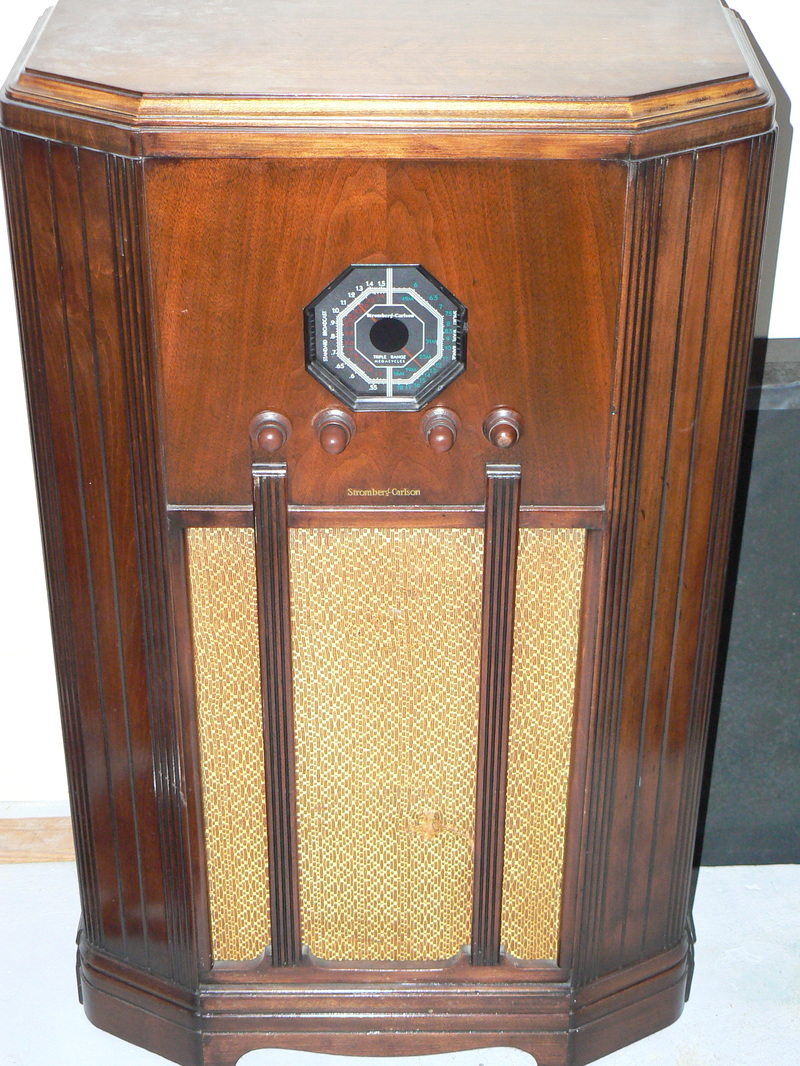
Stromberg-Carlson 130L
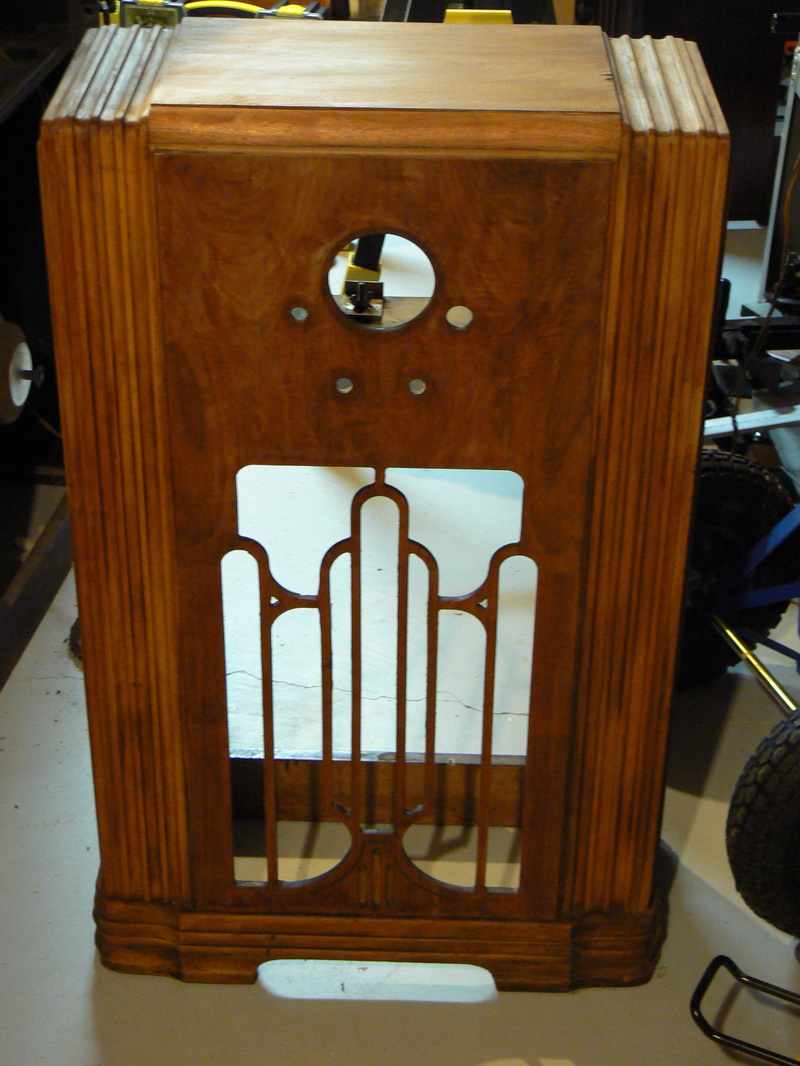
Fairbanks-Morse #58-C-1: Purchased from a neighbor, this set was the base console model for 1937. An attractive dial makes up for a simple, plain-Jane 5 tube design with a small speaker. A previous owner had replaced one of the dial lamps with the wrong bulb and the resulting heat burned through the plastic dial face near the top. Despite being a basic table radio chassis in a console cabinet, this set has surprising performance. After completing the restoration under the chassis I connected an antenna and slowly increased the voltage while monitoring current draw. The band switch was set to Short Wave, and the first sounds that came out of the speaker turned out to be a news broadcast from Radio New Zealand, providing election results for several islands in the southwest Pacific. This radio surely provided its owner with daily news during Word War Two, including accounts of our Marines and Navy as they attacked and occupied some of the same islands now producing election results being reported by Radio New Zealand. The finish on this cabinet is original and, yes, I have repaired the speaker grill since this photo was taken.

Fairbanks-Morse 58-C-1
Philco 14B: This "Baby Grand" set came from Bill Callaway, who owns Callaway Clock and Antique Radio Repair in Antigo, WI. Philco sets of this era were heavy, and this 9 tube set is no exception. Electronic restoration is a slow process, thanks to the dozen or so Bakelite Block capacitor assemblies in the set. Restuffing these blocks is messy and time-consuming but, once again, the reward is in restoring life to a device that is 80+ years old. Currently stored under my ham shack desk, this cabinet is awaiting restoration in 2016. The front of the cabinet looks fairly good but the wood comprising the arch needs some TLC.
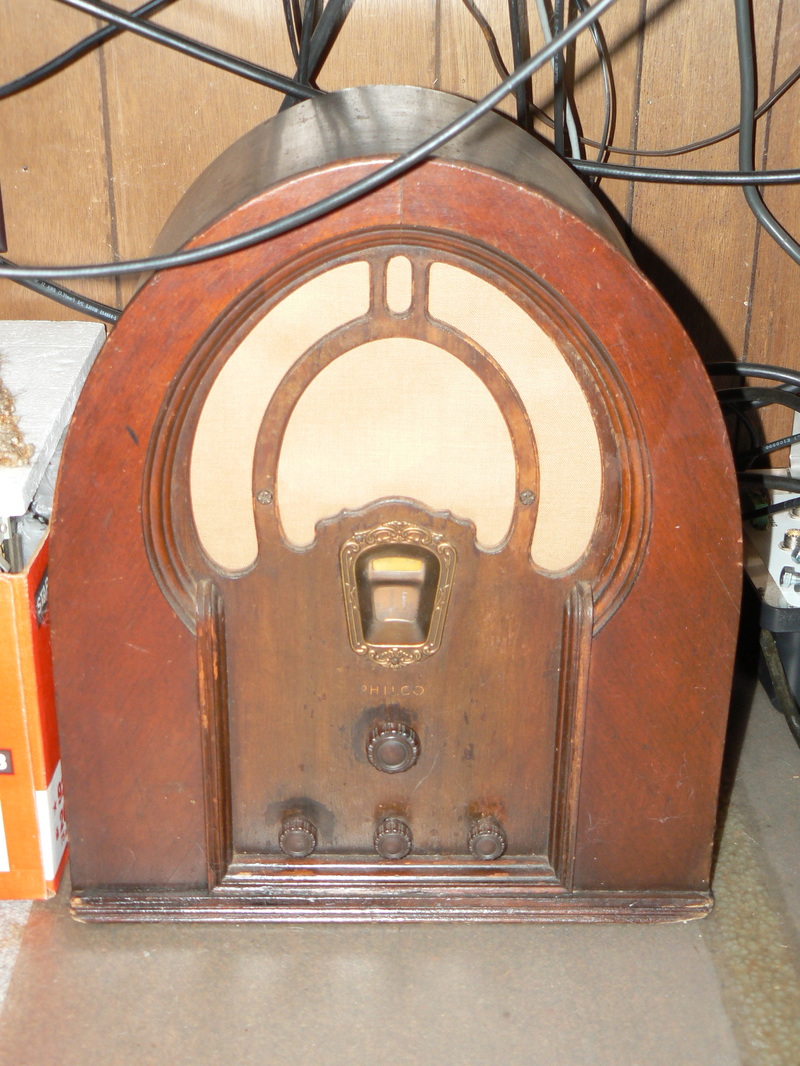
Philco 14
Airline 14BR-526A: My Grandmother had one of these in her kitchen for decades. While I didn't get to keep her set, I wanted one as a keepsake and was delighted to find this one. Judging by the station presets, this set spent its life in the Seattle area. The cabinet has also been painted and I may strip it to achieve the white-ivory color I remember from my Grandmother's kitchen.
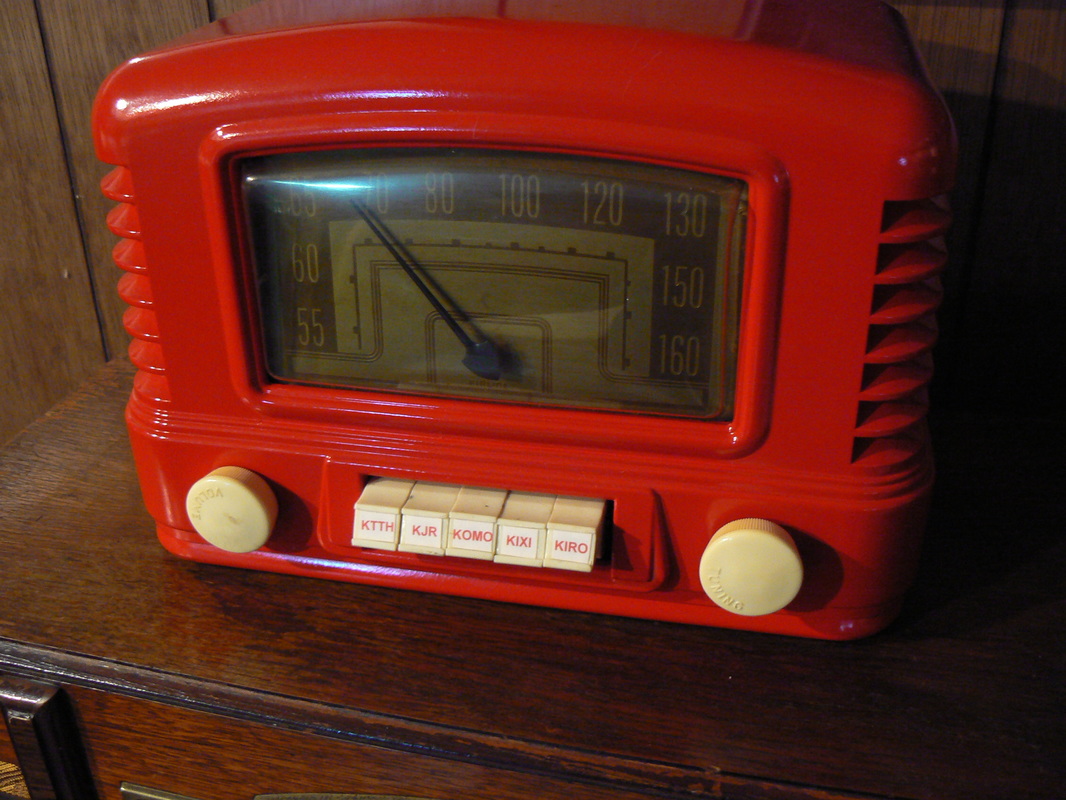
Airline 14BR-526A
