Building the shack desk
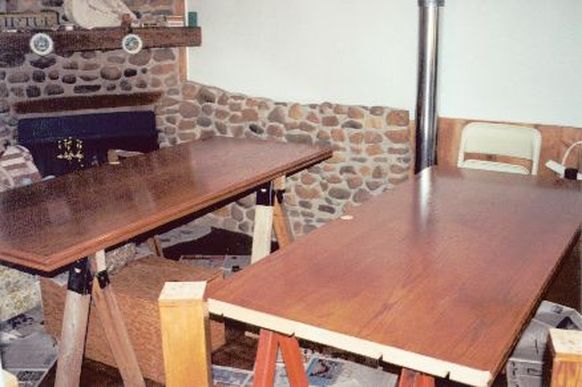
The desk is "L" shaped and 10' long on each leg. It is composed of solid core oak veneer doors that are 34" wide. The lumber yard where I bought the doors installed chair rail on the outside edge of the doors to give the front edge of the surface a finished appearance. This photo shows the doors being finished prior to assembly.
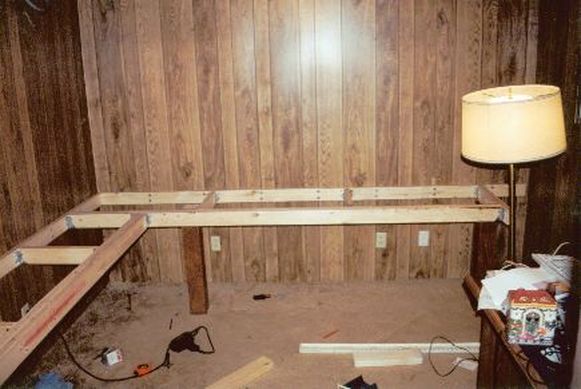
Given the weight (and the value) of the load to ride on the desk, it needed to be solid. A ledger runs along the wall for the support frame to rest on, and the hardware is the same as you would use to build an outdoor deck. Note the finished leg in this photo.
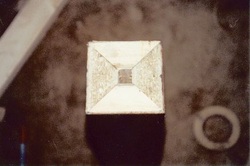
The guys at the lumber yard came up with this idea. Building the desk required two full doors and about half of a third door. By cutting across the remaining chunk of door at a 45 degree angle, these 4 wedges were produced with the finished veneer on the outside. 12 of these wedges created three perfect desk legs!
Here the pieces have been loosely laid in place prior to fastening.
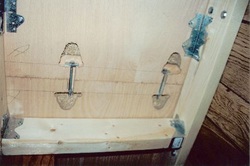
This image shows the use of miter bolts to draw the edges of the desk tightly together. No seam sealants were used, as this desk is designed to follow me to new locations and this technique permits easy disassembly if and when the shack goes to a different room - or a different QTH!
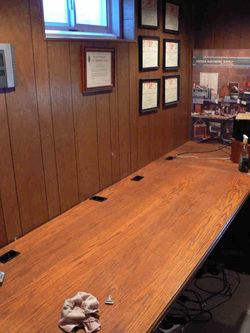
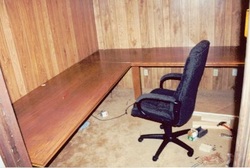
Here is the desk after installation in its most current location. The desk has been installed and moved several times. Note the cable holes cut into the desk. This permits easier routing of power and coax cables from beneath the desk.
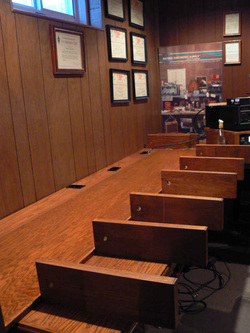
An elevated shelf is made from 3/4" oak veneer plywood, with the edges covered with trim to make for a finished appearance. The shelf is lifted off the desk by a series of solid oak boards. You can see the holes drilled into one end for routing cables along the desk. The shelf is NOT secured to the support boards, enabling me to slide them where they are needed. Once weight is placed on the shelf, the boards don't move without a lot of effort.
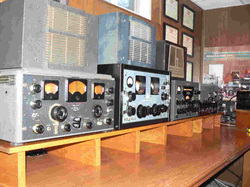
Rigs are elevated and I have a place to keep logs, pencils and note paper.
